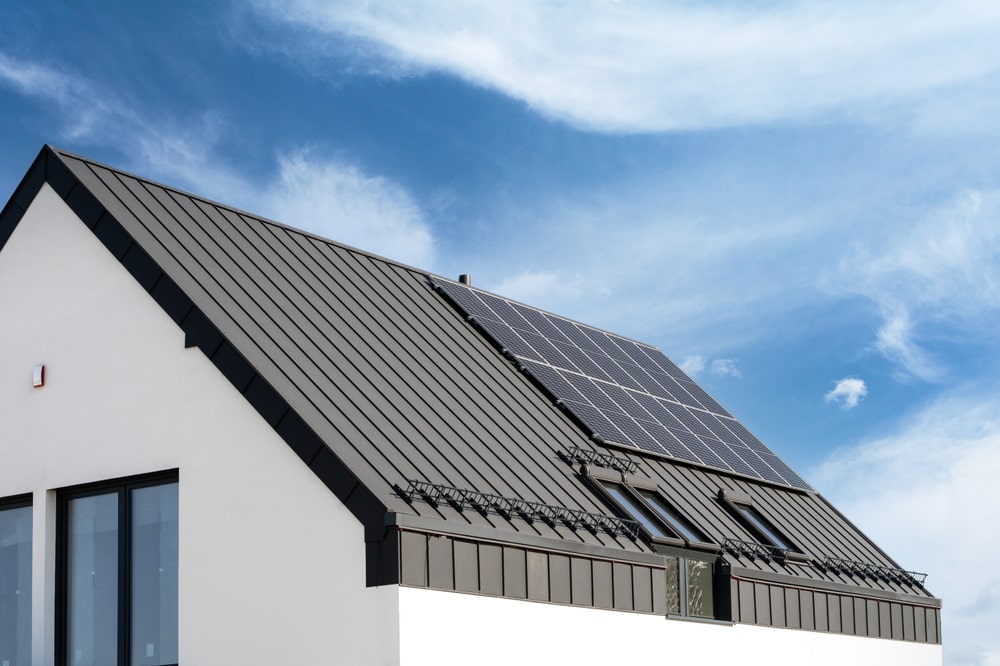
Metal roofs are a fantastic choice for durability and longevity. They can withstand harsh weather conditions and come in a variety of styles and colors. But sometimes, a metal roof can leave your interior feeling a little dark.
Skylights offer a brilliant solution, bringing in natural light and transforming your space. However, installing a skylight in a metal roof requires extra care and attention to detail compared to traditional shingle roofs.
Important Note: This guide offers a general overview. However, it’s recommended to consult a professional roofer for complex installations or if you’re unsure about your DIY skills.
Step 1: Planning and Preparation
- Skylight Selection: There are various skylight options available, including fixed, vented, and electric. Consider factors like ventilation needs, desired level of light control, and opening mechanism before choosing. For metal roofs, curb-mounted skylights are generally the preferred choice, as they create a raised profile that allows for proper flashing installation.
- Metal Roof Compatibility: Ensure the chosen skylight is compatible with your specific metal roof type. Standing seam roofs and corrugated metal roofs have different flashing requirements.
- Permitting: Check with your local building department to see if a permit is required for skylight installation.
- Safety First: Working on a roof can be dangerous. Always use proper fall protection equipment like a harness and lifeline.
Step 2: Tools and Materials
- Safety gear (harness, lifeline)
- Power drill
- Jigsaw or metal shears
- Sealant caulk
- Roofing screws
- Flashing kit (specific to your skylight and metal roof type)
- Underlayment material
- Level
- Pencil
- Tape measure
Step 3: Choosing the Skylight Location
- Sun Positioning: Consider the path of the sun throughout the day. South-facing skylights offer the most natural light, while north-facing ones provide softer, cooler light.
- Structural Support: Metal roof supports (purlins or trusses) should be considered when positioning the skylight. You don’t want to cut into a critical structural element.
- Interior Layout: Think about how the natural light will illuminate your space. Avoid placing the skylight directly above furniture or in a way that creates glare.
Step 4: Cutting the Roof Opening
- Carefully measure the skylight rough opening dimensions according to the manufacturer’s instructions.
- Transfer the measurements to the metal roof using a level and pencil.
- Use metal shears or a jigsaw to cut the opening. Cut on the outside of the lines to ensure the skylight fits snugly.
Step 5: Installing the Flashing
- Flashing is crucial for a watertight seal around the skylight. Most skylights come with compatible flashing kits made from the same material as your metal roof.
- Follow the manufacturer’s instructions meticulously for installing the flashing. It typically involves bending the flashing pieces to fit the roof contours and layering them to create a watertight channel.
- Apply sealant caulk along all seams and overlaps in the flashing for added protection.
Step 6: Installing the Skylight
- Carefully lift the skylight onto the roof opening.
- Following the manufacturer’s instructions, secure the skylight to the surrounding roof structure using appropriate fasteners.
Step 7: Finishing Touches
- Inside the house, install any interior trim or framing components according to the skylight’s instructions.
- Caulk any gaps between the skylight frame and the interior drywall for a finished look.
For a visual guide on installing a skylight in a metal roof, here are some helpful videos:
- Installing Skylights in Metal Roofing by RoofingIntelligence.com
- Velux Skylight installation Easy DIY “As seen on the Block” by Home on the Tools
- VELUX Installation Guide – Metal Roof/Custom Flashing by VELUX Australia
Pro Tips for Success
- Work on a dry, calm day with no rain or strong winds in the forecast.
- Double-check all measurements before cutting into your metal roof.
- Use high-quality roofing materials and sealants to ensure a long-lasting, weatherproof installation.
- If you’re not comfortable with DIY roof work, consider hiring a professional roofer experienced in metal roof skylight installations.


